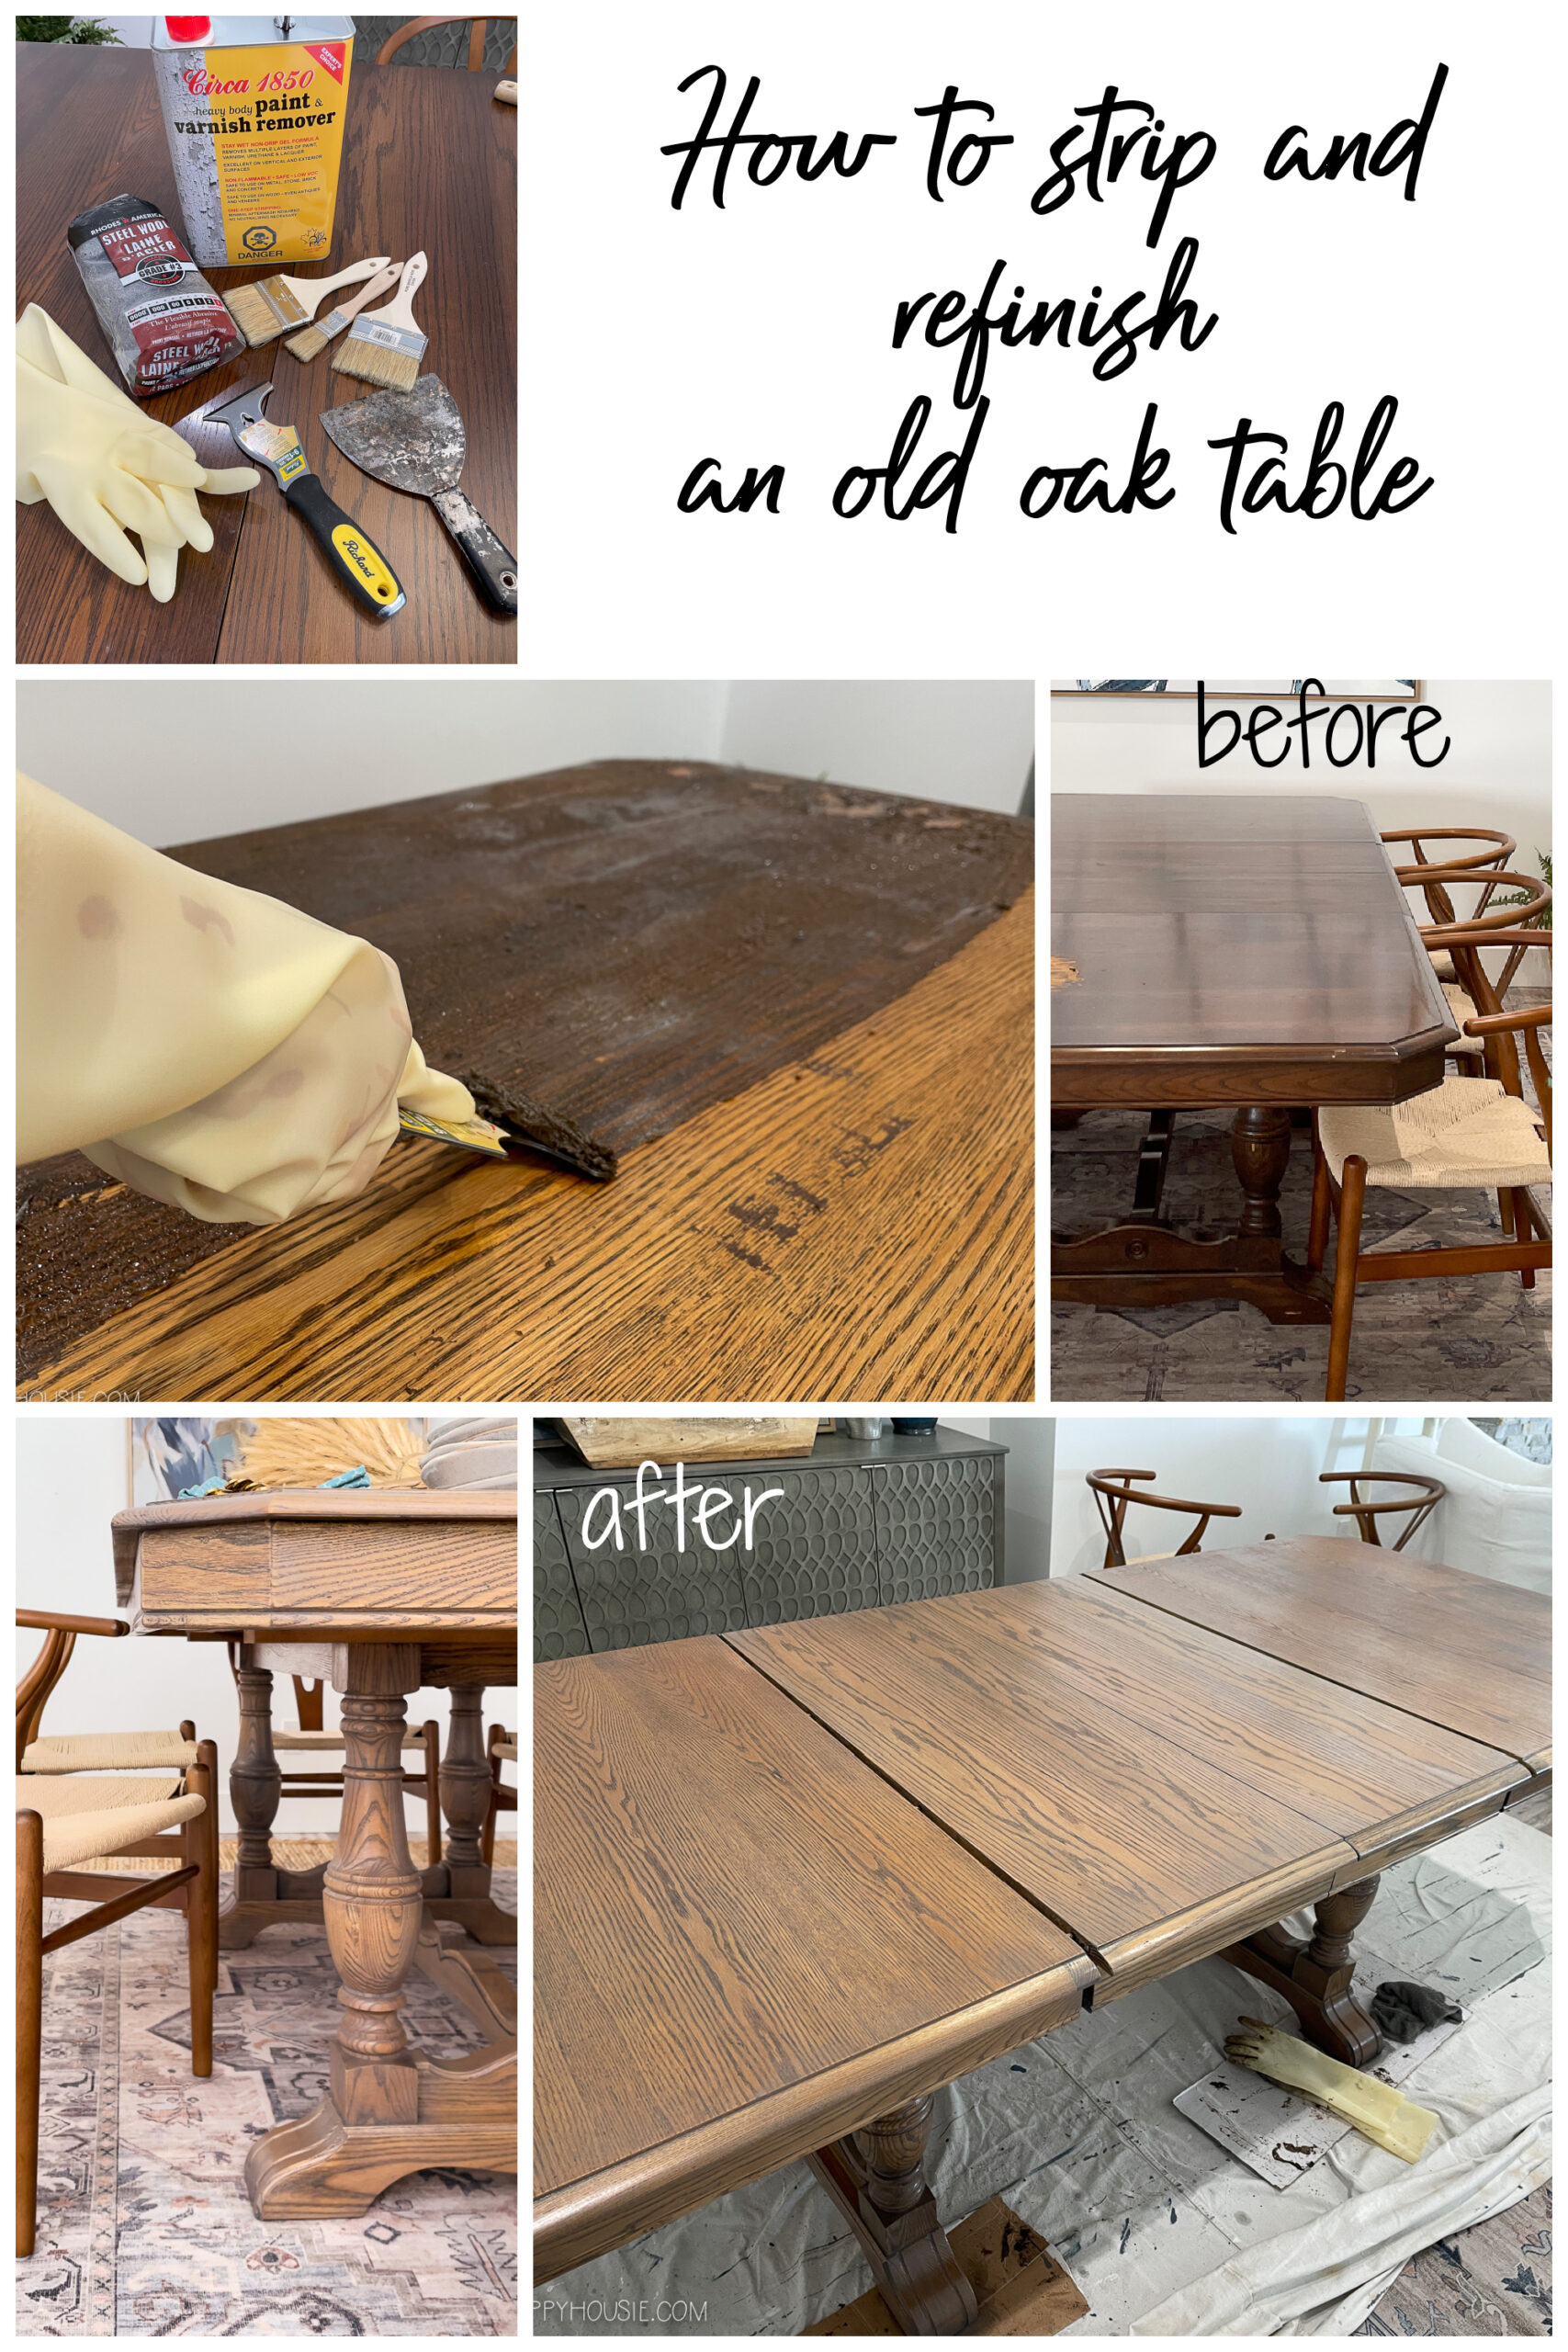
How To Refinish A Wooden Kitchen Table
Refinishing a wooden kitchen table is a rewarding project that brings new life to a tired surface and protects your everyday dining spot.
Assess the Table and Choose Your Finish Direction
Before you start sanding, take a close look at your table to decide how much work is needed and which finish path makes sense. Check for deep scratches, water rings, loose joints, or structural damage, and repair or reinforce any weak areas before moving on to cosmetic refinishing. Think about whether you want to keep the existing character, restore the original color, or completely change the look with a new stain, dye, or paint.
Consider the wood species, your daily routine, and the atmosphere you want in the kitchen when you plan your approach. A durable oil or polyurethane may be best for heavy use, while a softer wax or oil finish can offer a more natural, hand-crafted feel for lighter use. Decide early whether you will strip old finishes completely or use a lighter method that layers over the current surface, since this choice affects the tools, time, and safety steps you will need.

Gather Tools, Materials, and a Safe Workspace
Having the right supplies on hand makes the work faster, cleaner, and more predictable, so you can focus on doing each step well instead of pausing to hunt for items. You will typically need sandpaper in several grits, a good quality brush or lint-free cloth for applying finish, painter’s tape to protect hardware, and reliable eye and respiratory protection. Collect wood filler for small dings, a tack cloth to remove dust, and a stable work area with good ventilation where you can leave the table flat and undisturbed between coats.
Plan for cleaning supplies, gloves, and rags that you can dispose of safely, especially when you are stripping old varnish or using strong solvents. If you are changing the color dramatically, test your chosen stain or dye on a scrap piece first so you can see how the wood responds and adjust your technique. Keep in mind that a thoughtful setup, including drop cloths and organized containers for hardware, reduces mess, prevents mistakes, and helps you maintain focus on quality throughout the refinishing process.
Strip and Clean the Old Surface Completely
Removing old finish and accumulated grime is essential for strong adhesion and a smooth final result, so take your time with this stage instead of rushing ahead. Use a chemical stripper, a heat gun, or a combination method depending on the thickness of the old finish and your comfort level with the products. Work patiently in the direction of the wood, and follow the manufacturer’s instructions carefully, then neutralize, rinse, and dry the surface thoroughly before you move to the next step.

Pay special attention to corners, edges, and any carved details where old finish tends to hide, and use appropriate tools to reach those areas without gouging the wood. After stripping, clean the table with a mild soap solution, rinse well, and let it dry fully, then inspect the surface and decide whether light sanding or spot repairs are needed. A very clean, dry, and smooth base ensures that your new stain, sealer, and topcoat will bond evenly and last longer in your busy kitchen.
Repair Imperfections and Prepare for Color
Small scratches, dents, and holes can be distracting once you apply color, so filling and leveling them now creates a more professional-looking finish. Use wood filler that matches the table’s tone, press it firmly into the damaged areas, and smooth the surface with a putty knife, then let it dry completely before sanding flush. If there are water rings or white spots, you may need a specialized remover or a touch-up product designed specifically for that kind of discoloration.
Once repairs are sanded smooth and the surface feels even, wipe away all dust with a tack cloth and test your chosen stain or dye on a hidden spot to confirm the final tone. Apply color in thin, consistent layers using a brush or cloth, working with the grain and wiping off excess promptly to avoid streaks or blotches. Allow each coat to dry fully, then evaluate the depth of color before deciding whether an additional coat is necessary to achieve the look you want.
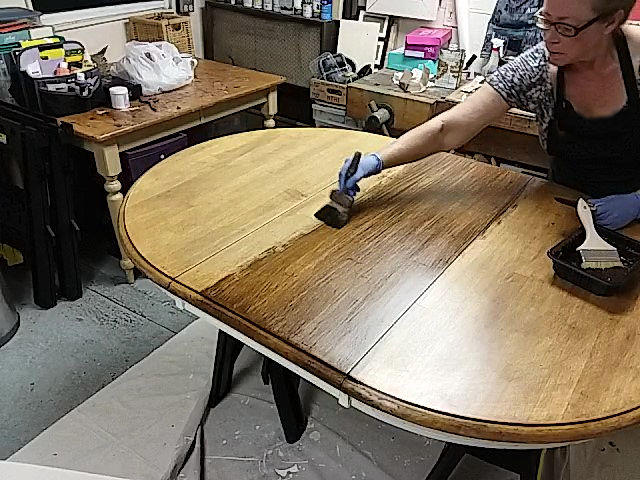
Seal and Protect for Long-Lasting Use
A durable finish is the most important part of refinishing a kitchen table, because it shields the wood from spills, heat, and daily wear while keeping your efforts looking fresh. Choose between oil, polyurethane, lacquer, or water-based finishes based on your desired balance of natural feel, hardness, and drying time, and apply it in a clean, dust-free environment. Use long, even strokes or a soft cloth, maintain a wet edge to avoid lap marks, and allow each coat to cure fully before adding the next layer or light sanding with very fine grit paper.
Consider adding two or three coats for tables used heavily, and lightly buff between coats to build a strong, resilient surface that resists heat rings and condensation. Once the final coat is fully cured, reattach any hardware, give the whole surface a gentle wipe-down, and enjoy your refreshed table with confidence. Regular cleaning and occasional maintenance will keep your refinished wooden kitchen table beautiful, sturdy, and ready for years of shared meals.
Maintain and Enjoy Your Refinished Table
After the finish has cured, simple habits like using placemats, coasters, and lifting items instead of dragging them will protect your work and reduce the need for major touch-ups. Use a soft, damp cloth for routine cleaning and a mild furniture polish or oil recommended for your finish type to keep the wood nourished without creating a sticky residue. Periodically check high-use areas for signs of wear so you can address small spots early and preserve the overall look.

With consistent care, your refinished wooden kitchen table will stay sturdy, attractive, and welcoming, becoming a reliable centerpiece for daily life and special occasions alike. By following careful preparation, thorough finishing, and thoughtful maintenance, you create a surface that looks great now and remains easy to care for in the future, making your effort feel worthwhile every time the family gathers around the table.
Table Refinish Gone Wrong? Here's What You Did
If your kitchen table is looking a bit rough, it's probably time for a refinish! This video shows you how to refinish a kitchen table and ...
